Achieving a flawless fulani quick weave curly aesthetic requires precision and the right materials to ensure the style looks natural while protecting your underlying hair. By combining the signature braided patterns of traditional Fulani styles with the volume of a quick weave, you create a versatile look that transitions effortlessly from day to night.
This guide explores the essential techniques for building a secure base, selecting high-quality hair, and maintaining your style for maximum impact. You will gain a clear understanding of how to execute this look safely, ensuring your natural hair remains healthy while you enjoy a stunning, textured finish that turns heads and lasts through your busiest weeks.
Preparing the Natural Hair for Protection
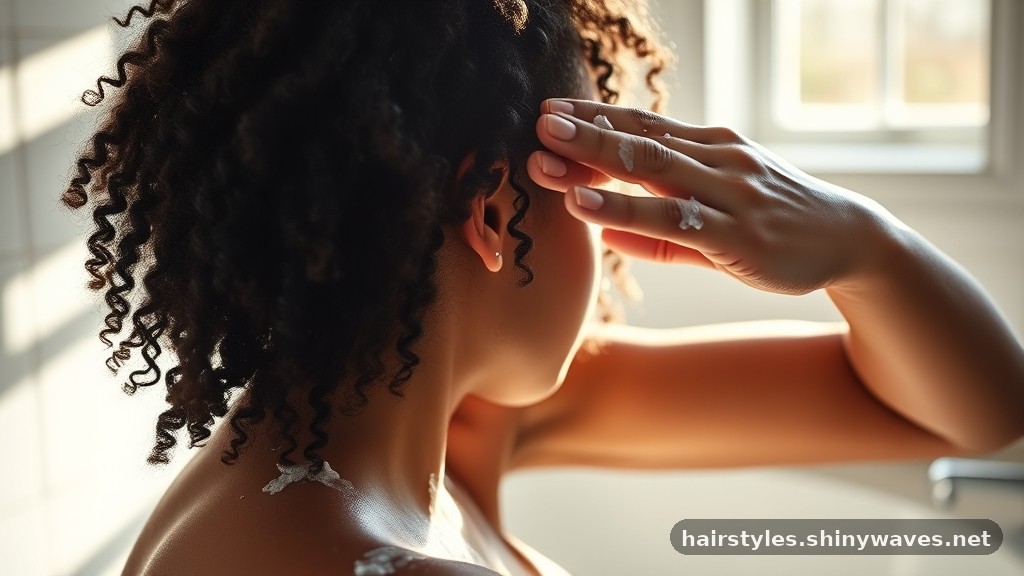
1. Thoroughly cleanse your scalp to remove buildup before starting any protective style.
Use a clarifying shampoo to ensure your hair is a clean slate, preventing itching and irritation under the weave.
2. Moisturize your hair deeply to keep it supple and breakage-free under the braided base.
Apply a leave-in conditioner and seal it with a lightweight oil, focusing on the ends to maintain moisture retention throughout the duration of the style.
3. Part your hair according to the desired Fulani pattern, ensuring clean lines.
Use a rat-tail comb to create a center part and define the sections that will remain exposed, which is a hallmark of this specific aesthetic.
4. Braid your natural hair into a tight, flat cornrow base that will serve as the anchor.
Ensure the cornrows are small and uniform, as this provides a smooth surface that prevents lumps or bumps when the tracks are applied later.
5. Apply a protective sealant or a specialized hair protectant spray over the braided hair.
This creates a physical barrier between your natural hair and the bonding glue, making the eventual removal process much easier and safer for your edges.
6. Design the front section to feature the classic Fulani braids near the hairline.
Incorporate small, intricate cornrows that lead back toward the crown, which helps frame the face while keeping the hair secure and neat.
Structuring the Braided Foundation
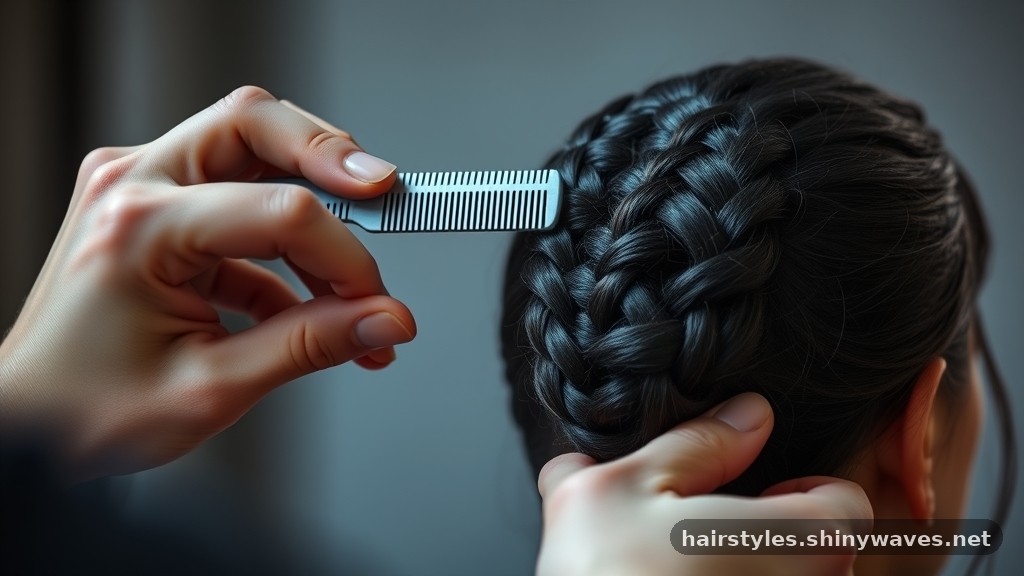
7. Ensure the braid pattern includes a center part that transitions into the back.
This involves a center part that allows for a natural-looking flow, providing the necessary structure for the quick weave tracks to be bonded securely.
8. Secure the ends of the braids tightly to the base of the head.
Use a needle and thread to sew the ends of your cornrows down flat, ensuring they don’t stick out or interfere with the placement of the tracks.
9. Add a cap over the braided foundation to provide an even surface for bonding.
A thin, breathable wig cap or stocking cap acts as a barrier, protecting the braids from glue contact.
10. Cut the excess cap material carefully around your ears and hairline.
Precision is key here; you want the cap to be invisible so that it doesn’t distract from the intricate braiding work you performed at the front.
Selecting Hair Textures and Materials
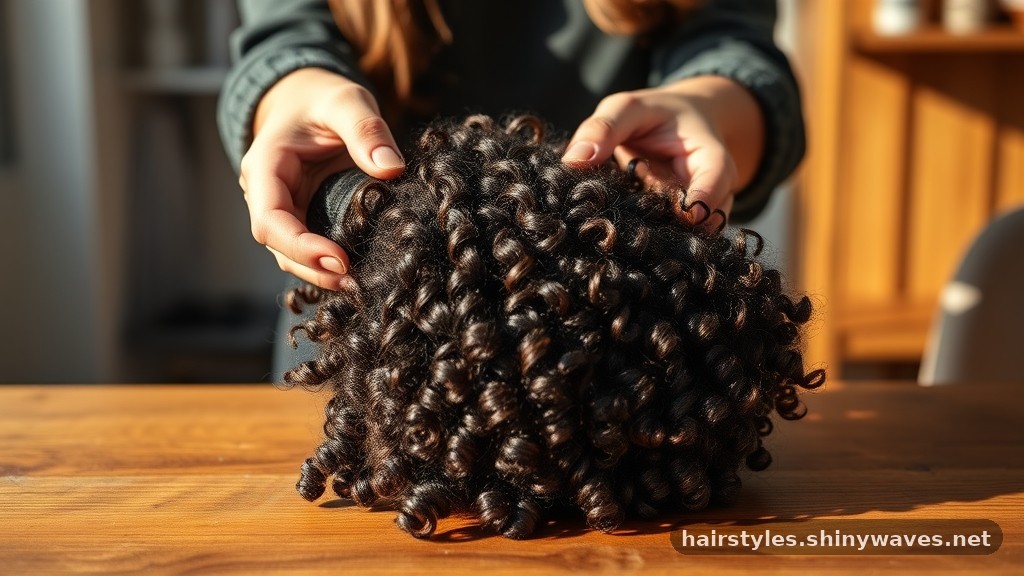
11. Opt for high-quality human hair extensions to achieve the most natural movement and longevity.
Human hair handles heat and styling products better than synthetic alternatives, ensuring your look remains vibrant and tangle-free for several weeks.
12. Choose a deep wave texture for a voluminous, beachy aesthetic.
The deep wave pattern mimics natural curl definition, which blends seamlessly with the Fulani braids and provides a luxurious, full look without needing extra styling time.
13. Consider water wave hair if you prefer a tighter, more defined curl pattern.
This texture holds its shape well and offers a slightly more bohemian vibe, which complements the intricate nature of the front-facing braids perfectly.
14. Evaluate the weight of the hair bundles before purchasing.
Lighter hair is always better for a quick weave, as it prevents unnecessary tension on your natural hair and edges, promoting comfort throughout the day.
Mastering Track Placement Techniques
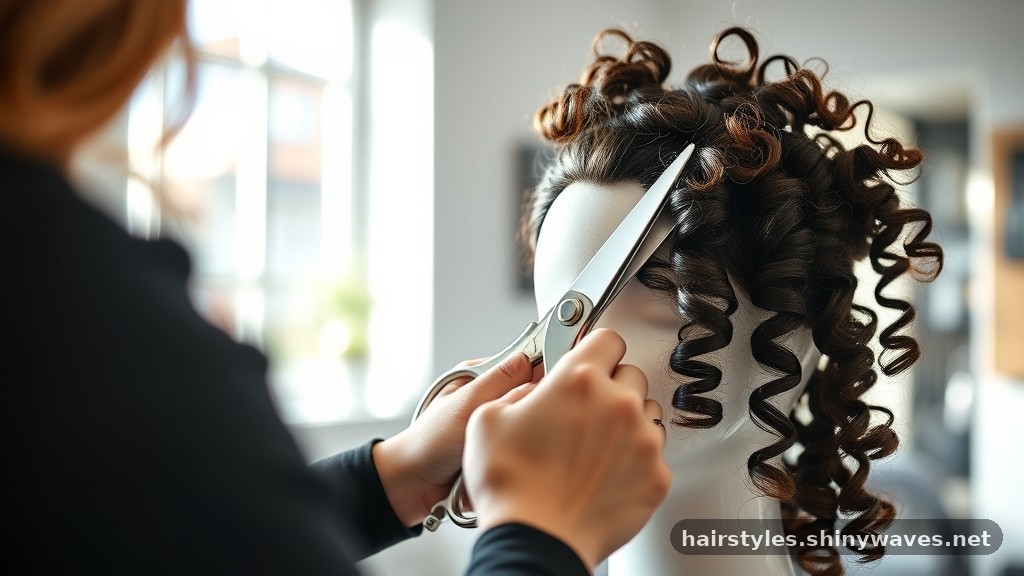
15. Check the weft construction for durability and minimal shedding.
High-quality wefts ensure that the hair stays intact when cut, preventing the thinning that often occurs with lower-grade extensions during daily wear.
16. Start applying tracks from the nape of the neck and work your way upward.
This upward progression allows you to layer the hair effectively, creating a natural volume that cascades beautifully over the shoulders and back.
17. Use hair bonding glue sparingly to prevent excess buildup and mess.
A thin, even line of glue along the weft is sufficient to hold the hair in place without creating bulky, uncomfortable ridges on your head.
18. Place the tracks close together in the back to create density.
By keeping the rows tight, you ensure that the tracks are fully covered, which is essential for a polished look that hides the cap completely.
Applying Glue Safely and Effectively
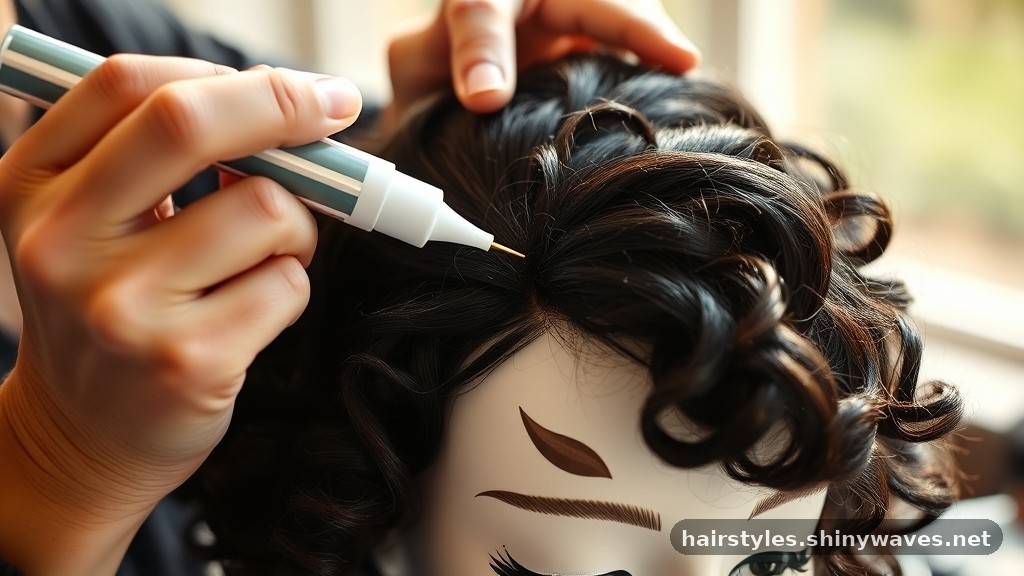
19. Curve the tracks slightly as you move toward the crown area.
This technique helps the hair lay flatter and follow the natural contours of your head, preventing the style from looking stiff or unnaturally rounded.
20. Leave enough space at the top to blend the hair with your braided front.
Carefully arrange the final tracks so they meet the back of your braided sections, creating a smooth transition between the weave and your natural hair.
21. Always use a high-quality, professional-grade hair bonding glue.
Avoid cheap adhesives that can be difficult to remove or cause allergic reactions; professional products are designed for easier, safer dissolution during the takedown process.
22. Perform a patch test if you have sensitive skin or a history of allergies.
Applying a small amount of glue behind your ear for 24 hours will help determine if your skin reacts negatively to the chemical composition.
23. Wait for the glue to become tacky before pressing the track onto the cap.
Allowing the adhesive to set for a few seconds ensures a stronger bond, meaning you won’t have to worry about tracks slipping or lifting unexpectedly.
Customizing the Fulani Aesthetic
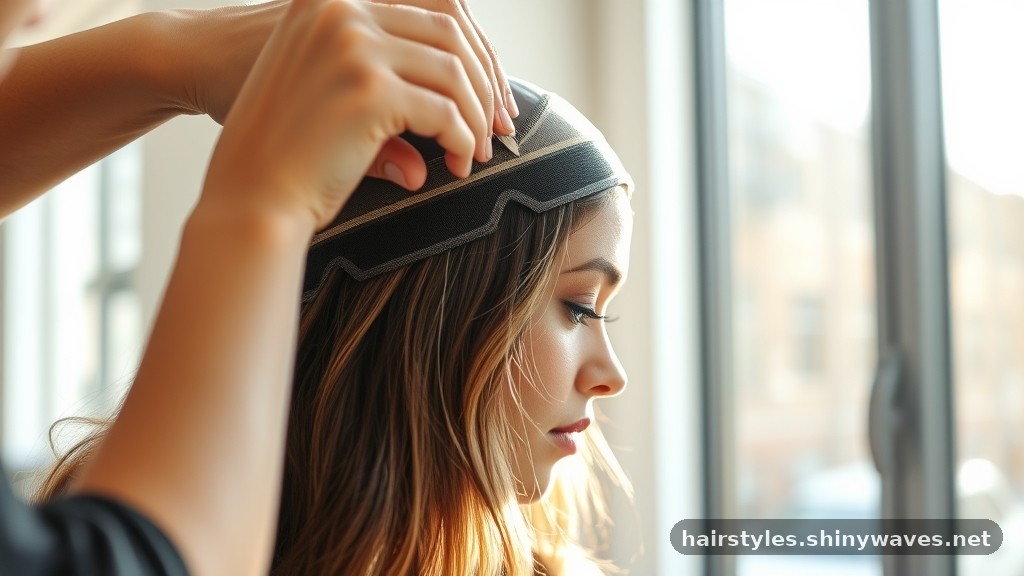
24. Avoid getting glue on your natural hair or scalp at all costs.
Use a protective barrier like a thick layer of styling gel or a wig cap to ensure the adhesive only touches the synthetic material, not your roots.
25. Keep a specialized glue remover on hand for the removal phase.
Having the proper solvent makes the process of dissolving the bonds much faster and less damaging to your natural hair when it is time to switch styles.
26. Incorporate beads or gold cuffs into the front braids for authenticity.
These decorative elements are essential for the traditional look and add a touch of personality that elevates the entire style beyond a basic weave.
27. Ensure the front braids are sleek and free of flyaways.
Use a firm-hold edge control gel to lay your baby hairs and secure the braid edges, creating a clean, professional finish that highlights your facial features.
Maintenance and Longevity Tips
28. Experiment with parting styles to change your look daily.
While the center part is standard, you can adjust the front braids to accommodate a side part if you want to switch up the framing of your face.
29. Blend the curls into the braids using a light touch of mousse.
A small amount of styling foam helps the curly hair transition smoothly into the braided sections, ensuring the two textures appear cohesive rather than disjointed.
30. Trim the ends of your weave to keep the style looking fresh.
Regularly snipping away any frizzy or damaged ends keeps the curls defined and prevents the overall look from appearing tired or messy after a few days.
31. Wrap your hair in a satin bonnet every night to preserve the curls.
Friction from cotton pillowcases can cause significant tangling and frizz, so a silk or satin covering is mandatory for maintaining the integrity of the weave.
32. Refresh the curls in the morning with a spray bottle of water.
A light misting keeps the hair hydrated and bouncy, which is crucial for deep wave or water wave textures that thrive on moisture.
33. Avoid excessive heat styling that can damage the hair extensions.
Since the hair is already pre-curled, you rarely need a curling iron; if you must use one, keep the temperature setting low to prevent drying out the strands.
Troubleshooting Common Style Issues
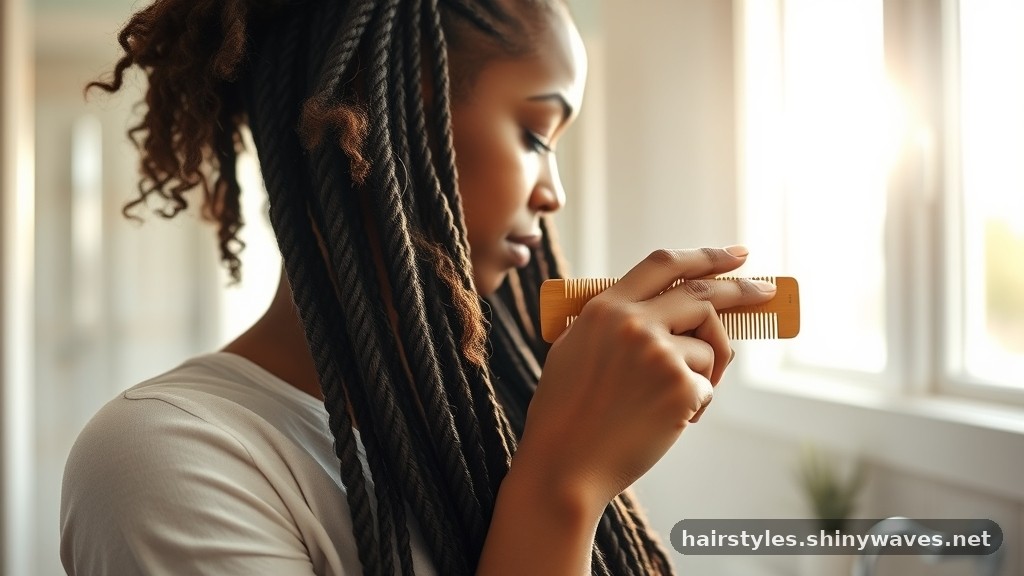
34. Use a wide-tooth comb or your fingers to detangle the hair gently.
Starting from the ends and working your way up prevents breakage and preserves the longevity of the tracks, ensuring you get the most out of your style.
35. Schedule a takedown after four to six weeks to protect your hair health.
Leaving a quick weave in too long can lead to matting and excessive tension, so prioritize your natural hair’s health by removing the style within a reasonable timeframe.
36. Address lifting tracks immediately by applying a tiny dot of glue.
If a track begins to peel away from the cap, don’t ignore it; re-securing it quickly prevents the problem from spreading and keeps your style looking neat.
37. Manage frizz by using an anti-frizz serum or lightweight oil.
A small drop rubbed between your palms and applied to the mid-lengths and ends will instantly tame flyaways and restore the shine of your curly extensions.
38. Correct an uneven braid pattern by pinning the hair strategically.
If one braid looks slightly off, use a bobby pin to tuck it into a more flattering position, which instantly balances the look of your front section.
Styling Variations for Different Occasions
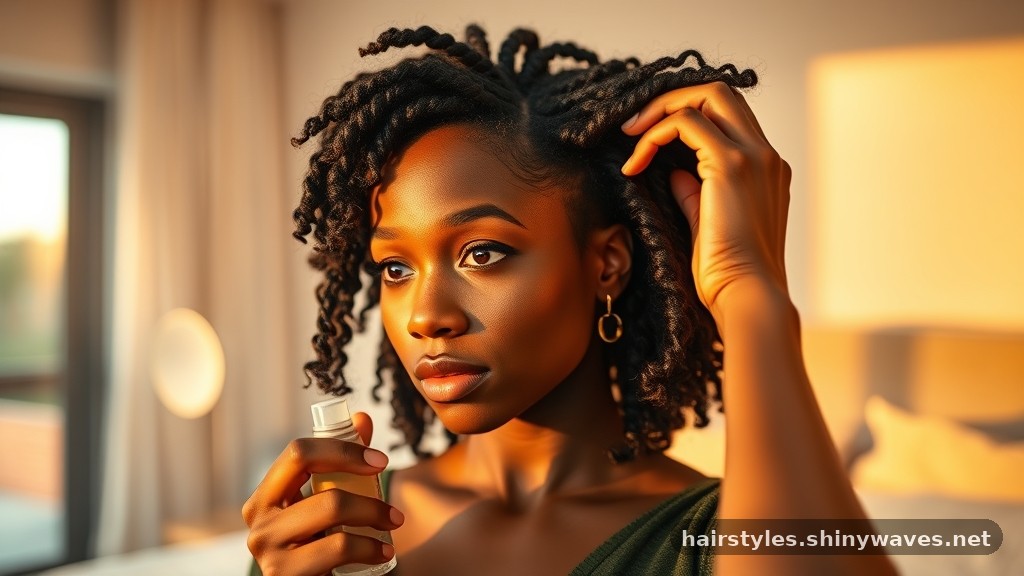
39. Reduce scalp itching with a medicated scalp spray.
It is common to experience some irritation under a weave, but a soothing spray containing tea tree or peppermint oil can provide immediate, cooling relief without ruining your style.
40. Fix tangled curls by gently detangling with a leave-in conditioner spray.
If the curls become knotted, a leave-in conditioner acts as a lubricant, allowing you to slide through the tangles without pulling on the bonded tracks.
41. Pull the curly weave into a high ponytail for a sporty look.
Ensure the tracks are placed in a way that allows for upward movement, and use a soft scrunchie to avoid putting too much tension on the bonded wefts.
42. Create a half-up, half-down style to showcase the front braids.
This is a popular way to wear this style, as it keeps the hair off your face while still showing off the length and volume of the curls.
43. Add accessories like headbands for a quick, stylish change.
A decorative headband can hide any imperfections at the transition point between the braids and the weave, making it a perfect accessory for busy mornings.
44. Use hair jewelry to draw attention to the Fulani braids specifically.
Silver or gold rings placed along the length of your braids add a high-fashion element that makes the style look much more intentional and curated.
45. Incorporate a deep side part for a more dramatic, evening appearance.
By shifting the focus of your braids, you can completely change the silhouette of your hair, providing a versatile option that works for formal events.
FAQ About Fulani Quick Weave Curly Styles
How long should a curly quick weave typically last?
A well-maintained quick weave generally lasts between four and six weeks. Beyond this, the growth of your natural hair and the potential for matting make removal necessary to protect your scalp.
Is it possible to use bohemian curls for this look?
Yes, bohemian curls are an excellent choice for a fulani quick weave curly style. They offer a unique, textured volume that pairs perfectly with the sleekness of traditional Fulani braids.
Does the glue damage my natural hair?
Glue only causes damage if it comes into direct contact with your hair or if the removal process is rushed. Using a protective cap and proper solvent ensures your hair stays safe.
Can I wash my hair while wearing this style?
Washing is difficult with a quick weave because moisture can weaken the glue bonds. It is better to focus on scalp hygiene using a dry shampoo or a damp cloth instead.
How many bundles of hair are usually required?
Typically, two to three bundles of curly hair are sufficient for a full look. The exact amount depends on the length of the hair and the desired density of your style.
Conclusion
Creating a stunning fulani quick weave curly hairstyle is a rewarding process that blends cultural tradition with modern convenience. By carefully preparing your natural hair, choosing high-quality textures like deep wave or water wave, and adhering to strict maintenance protocols, you can achieve a look that is both beautiful and protective. Remember that the longevity of your style depends heavily on how well you care for the braided foundation and the bonded tracks beneath.
Taking the time to properly install and maintain your hair will ensure you look your best while keeping your natural hair healthy underneath. If you found these tips helpful, consider sharing your own styling results or asking questions to refine your technique further as you explore new ways to wear this versatile look.