
Achieving the perfect look with fulani curly hair requires a blend of traditional braiding artistry and modern protective styling techniques. This classic aesthetic, rooted in West African culture, typically features side braids, a signature perimeter braid, and loose, flowing curly ends. By balancing tension control with premium synthetic braiding hair, you can create a stunning style that minimizes stress on your natural follicles.
Understanding the mechanics of these braids is essential for anyone looking to achieve a professional finish at home or in the salon. This article breaks down the technical aspects of installation, essential scalp care, and the specific maintenance routines required to keep your curls defined and your edges protected throughout the style’s lifespan.
Core Components of Traditional Fulani Braids
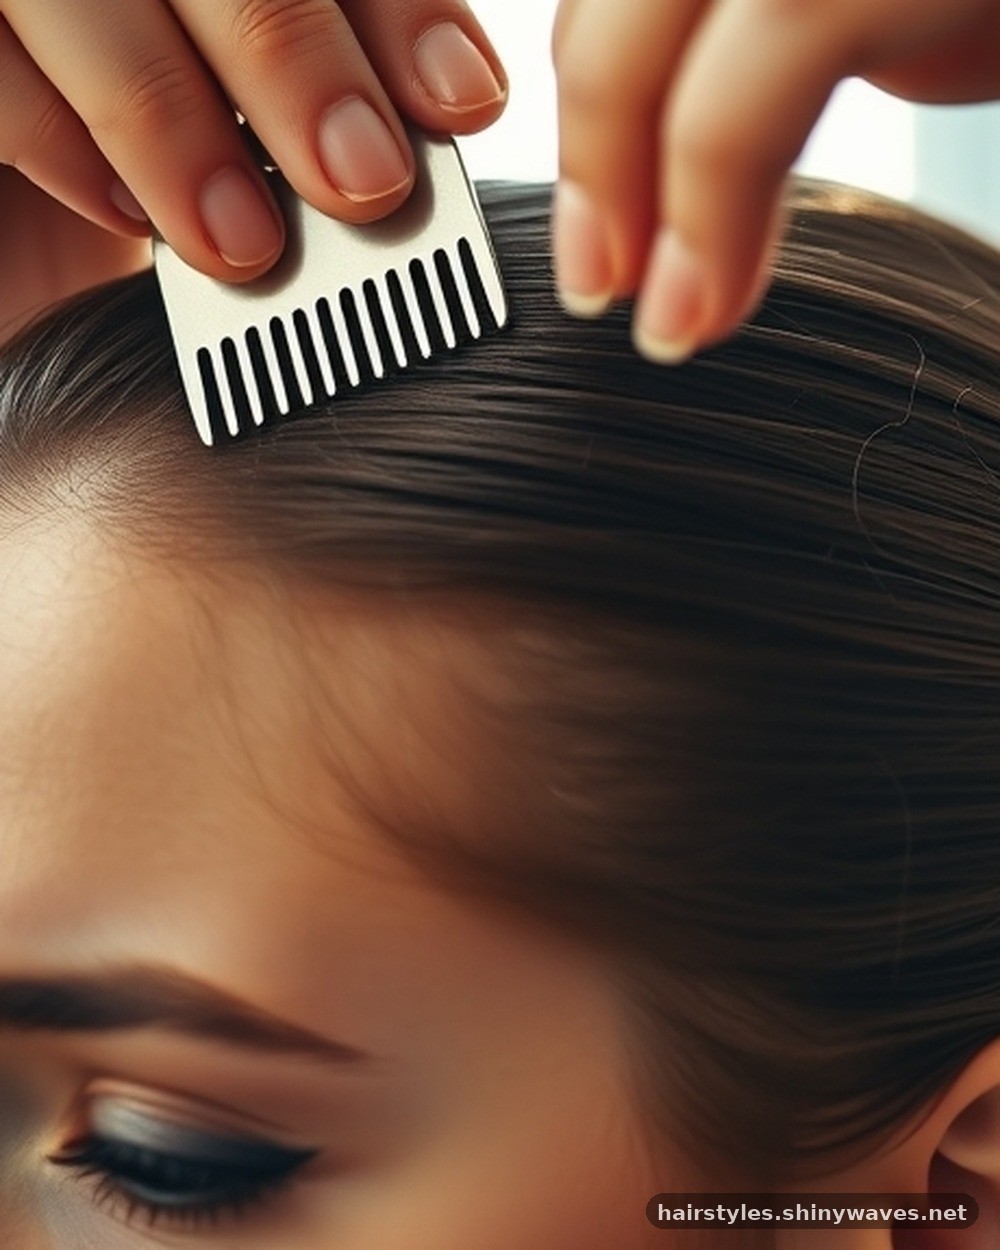
1. The foundation of this look relies on a precise center part that runs from the forehead to the nape of the neck.
Use a rat-tail comb to ensure the parting is perfectly straight, as this serves as the anchor for all subsequent sections of the hairstyle.
2. Side braids are typically cornrowed toward the front or sides of the head to frame the face with intricate, curved patterns.
Apply a small amount of edge control to the roots of these side sections to ensure the braids remain sleek and free of flyaways during the initial installation.
3. A signature perimeter braid is essential for the classic look, usually wrapping around the crown or along the temple line.
Anchor this braid firmly but gently
Anchor this braid firmly but gently, ensuring it does not pull too tightly on the delicate baby hairs around your hairline.
4. Incorporating loose, voluminous curly ends provides the signature contrast between the tight, structured cornrows and the soft, flowing texture of the extensions.
Select high-quality French curl braiding hair that matches your natural hair color to ensure the transition from the braid to the curl is seamless.
5. The integration of beads or gold cuffs at the ends of the braids is a traditional touch that adds weight and visual interest.
Choose lightweight accessories to prevent excessive tension on the ends of your braids, which can lead to breakage over time.
Advanced Braiding Technique and Scalp Health
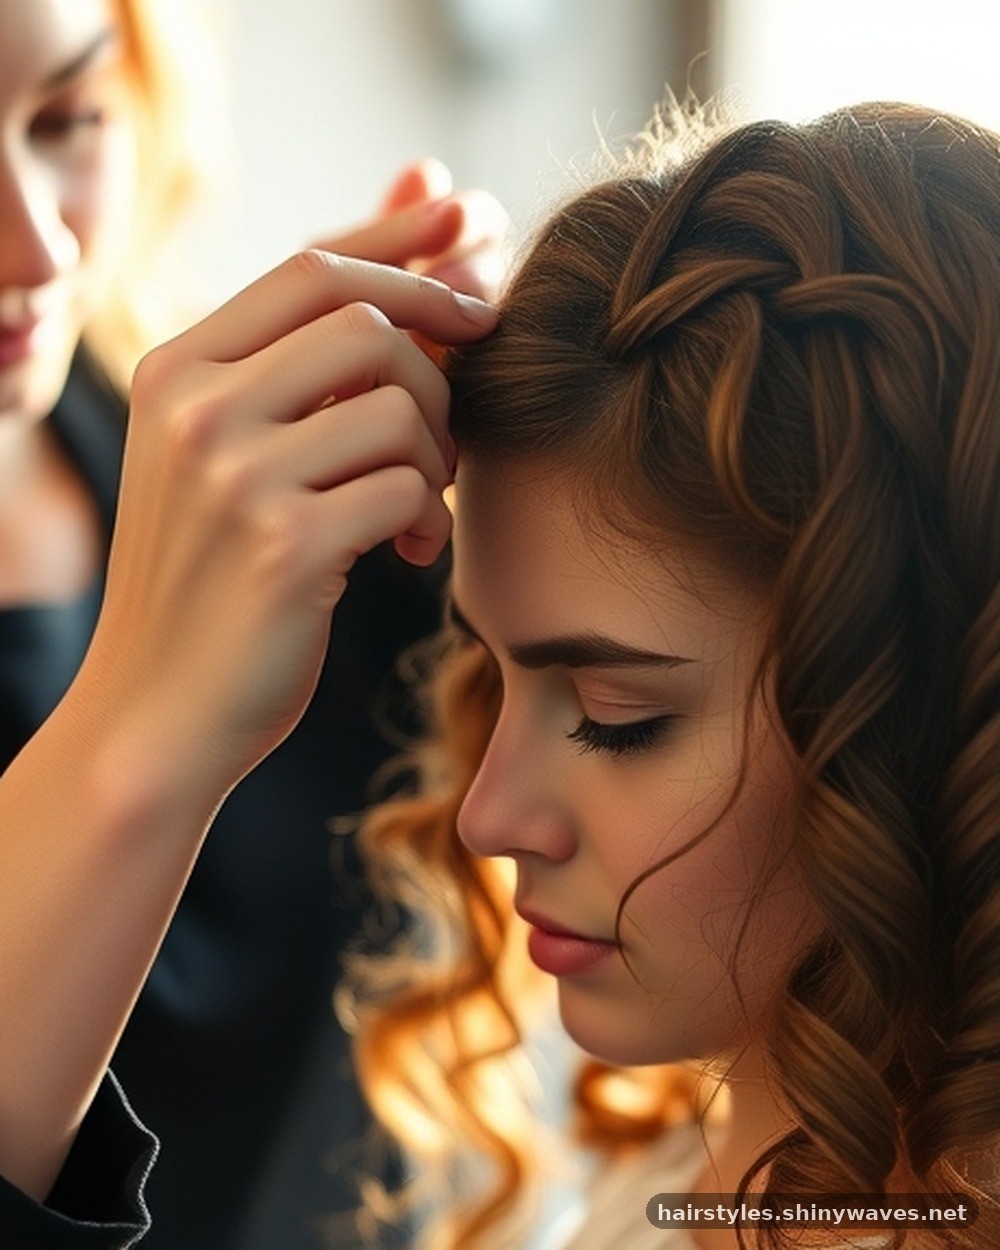
1. Proper tension management is the most critical factor in preventing traction alopecia when working with complex braided styles.
Always instruct your braider to avoid pulling the hair too tightly at the root, especially around the temples and nape areas.
2. Incorporating knotless braids into the base of the style allows for a flatter, more natural-looking transition from the scalp to the extension.
Ensure that the natural hair is fully moisturized before starting the installation to provide a flexible base for the braiding process.
3. Using premium synthetic braiding hair that is pre-stretched can significantly reduce the amount of time spent on the installation process.
Check the texture of the hair
Check the texture of the hair before purchasing to ensure it has the appropriate weight and curl pattern for your desired look.
4. Frequent oiling of the scalp is necessary to maintain moisture levels while the hair is locked away in a protective style.
Apply a lightweight, non-comedogenic oil directly to the exposed parts of your scalp using a dropper bottle to avoid buildup.
5. Monitoring the health of your edges throughout the duration of the style is vital for long-term hair retention.
If you notice any signs of redness or bumps along your hairline, loosen the affected braids immediately to relieve the pressure.
Selecting the Right Materials for Curly Ends
1. French curl braiding hair is the industry standard for achieving that bouncy, voluminous look associated with modern interpretations of the style.
Look for hair labeled as “pre-curled” or “bouncy” to ensure the curls retain their shape even after exposure to humidity.
2. Synthetic fibers vary in heat resistance, which dictates whether you can dip the ends in hot water to further define the curls.
Always test a small, hidden strand of the extension hair in hot water before dipping the entire head to prevent melting.
3. Matching the density of your natural hair to the weight of the extensions is key to preventing sagging or premature unraveling.
Avoid using excessively heavy bundles, as

Avoid using excessively heavy bundles, as they can pull on your natural hair and cause thinning at the points of attachment.
4. Texture compatibility is important if you intend to leave a portion of your natural hair out for a more blended appearance.
Use a leave-in conditioner on your natural hair before braiding to ensure it remains soft and compatible with the synthetic texture.
5. Investing in high-quality hair extensions can mean the difference between a style that looks plastic and one that mimics real human hair.
Read detailed reviews on hair supply websites to gauge the longevity and shine of specific synthetic brands before making a purchase.
Longevity and Maintenance Protocols
1. Protecting your hair at night with a satin or silk bonnet is the single most effective way to extend the life of your curls.
Ensure that all of your braids and curls are tucked inside the bonnet to prevent friction against cotton pillowcases.
2. Refreshing your curly ends periodically with a light spritz of water and leave-in conditioner prevents the synthetic fibers from becoming frizzy.
Gently detangle the curls with your fingers rather than a brush to avoid disrupting the factory-set curl pattern.
3. Avoiding heavy gels or pomades on the extensions helps keep the hair lightweight and free of product buildup.
Use a water-based mousse to redefine

Use a water-based mousse to redefine the curls if they begin to lose their shape after a few weeks of wear.
4. Scheduling a touch-up for the perimeter braids around the four-week mark can keep the style looking crisp and professional.
Focus the touch-up only on the most visible braids to minimize the amount of manipulation your edges endure.
5. Limit the total time you keep these braids in to six or eight weeks to prevent excessive matting at the roots.
Consult the American Academy of Dermatology guidelines regarding safe duration for protective styles to ensure your hair remains healthy.
Managing Scalp Health During Protective Styling
1. For scalp maintenance, using a clarifying spray or witch hazel can help remove sweat and debris without needing a full wash.
Spray the mixture onto a clean cloth and gently pat the scalp between the parts of your braids to cleanse.
2. Itching is a common side effect of synthetic hair, often caused by the alkaline coating applied during the manufacturing process.
Pre-soak your braiding hair in a mixture of warm water and apple cider vinegar before the installation to neutralize the chemicals.
3. Keep your scalp hydrated by using a lightweight mist that contains ingredients like aloe vera or glycerin.
Avoid heavy oils that can clog
Avoid heavy oils that can clog the pores, as a healthy scalp environment is necessary for hair growth.
4. Scalp massages performed with the pads of your fingers can stimulate blood flow and provide relief from the tightness of new braids.
Be extremely gentle during these massages to avoid catching your nails on the braids or loosening the roots.
5. If you experience significant dandruff or flaking, consider using a medicated scalp treatment specifically formulated for braided styles.
Apply the treatment directly to the scalp using a precision nozzle to ensure the product reaches the skin without coating the hair.
Styling Variations and Customization

1. Incorporating gold or silver hair jewelry into the braids can instantly elevate the look for formal events or evening outings.
Space your accessories evenly throughout the braids to create a balanced, intentional aesthetic rather than a cluttered one.
2. Changing the parting pattern from a standard center part to a deep side part can dramatically alter the frame of your face.
Experiment with different parting styles during the initial consultation with your braider to see what complements your bone structure best.
3. Adding different lengths of curly extensions can create a layered, modern effect that feels lighter and more natural.
Discuss the desired length with your
Discuss the desired length with your stylist before they begin the installation, as changing it later requires removing the extensions.
4. Mixing colors into your braiding hair can add depth and dimension to your overall look, especially in natural lighting.
Choose a color that is one or two shades lighter than your natural hair to create a subtle, sun-kissed highlight effect.
5. Pulling the braids into a high ponytail or a bun offers a versatile way to wear the style throughout the work week.
Use a soft, fabric-covered hair tie to secure the style, as standard elastic bands can snag the synthetic hair and cause breakage.
Troubleshooting Common Braiding Issues
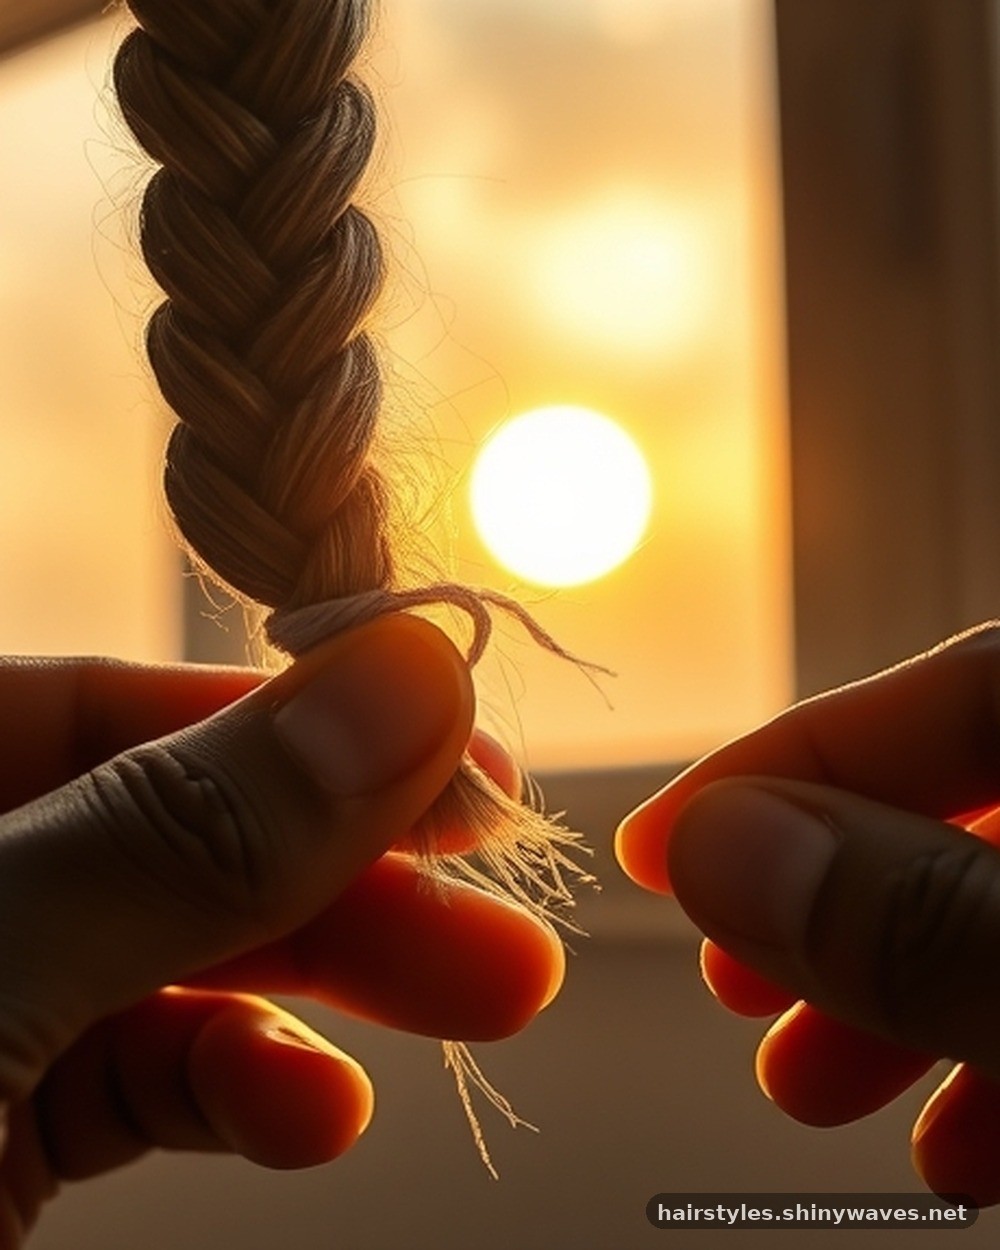
1. If a braid begins to unravel at the end, use a small amount of clear nail glue or a tiny rubber band to secure it.
Ensure you tuck the loose end of the braid underneath itself to hide the repair and maintain a clean appearance.
2. Frizz on the cornrowed sections can be managed by applying a small amount of edge control with a soft-bristled brush.
Work in small sections, smoothing the product from the root toward the end of the braid to ensure an even finish.
3. Bumps or irritation at the base of the braid often indicate that the section is too small or the tension is too high.
Have the braid removed immediately to
If you notice persistent irritation, have the braid removed immediately to allow the skin to heal and prevent long-term damage.
4. Tangling of the curly ends is often caused by lack of moisture or sleeping without a protective scarf.
Use a detangling spray designed for synthetic hair and work slowly from the bottom up to remove any knots without pulling.
5. If your scalp feels excessively tight immediately after the installation, try using a warm, damp towel to relax the hair follicles.
Hold the towel against the base of the braids for a few minutes to allow the heat to soften the tension.
Professional Salon vs DIY Installation
1. Booking a professional stylist ensures that your braids will be consistent, symmetrical, and structurally sound for the duration of the style.
Look for stylists who specialize in natural hair care and have a portfolio showing clean, healthy-looking braid foundations.
2. DIY installation is a cost-effective alternative, though it requires significant time, patience, and a high level of dexterity.
Practice your parting and braiding technique on a mannequin head before attempting to install a full set of braids on yourself.
3. A professional stylist can provide a personalized consultation to determine the best tension level for your specific hair texture and density.
Be honest with your stylist about

Be honest with your stylist about your history of hair breakage so they can adjust their technique to prioritize your hair health.
4. The tools required for a professional-grade installation include high-quality combs, clips, and specialized braiding hair.
Invest in a set of professional-grade rat-tail combs and sectioning clips to make the process smoother and more efficient.
5. Time is a major factor, as a full set of Fulani-inspired braids can take between four to eight hours to complete.
Plan your day accordingly and ensure you have snacks, water, and entertainment to make the long sitting time more comfortable.
Preparing Your Natural Hair for Braiding
1. Deep conditioning your hair a few days before your appointment ensures that it is strong, hydrated, and ready for manipulation.
Use a protein-rich deep conditioner if your hair is prone to breakage, as this will help it withstand the tension of the braids.
2. Detangling your hair thoroughly before you arrive at the salon saves time and prevents the braider from having to pull through knots.
Use a wide-tooth comb and a detangling leave-in product to ensure every strand is smooth and easy to section.
3. Stretching your hair using a blow dryer or by banding it the night before can make the braiding process much easier.
Use a heat protectant spray before
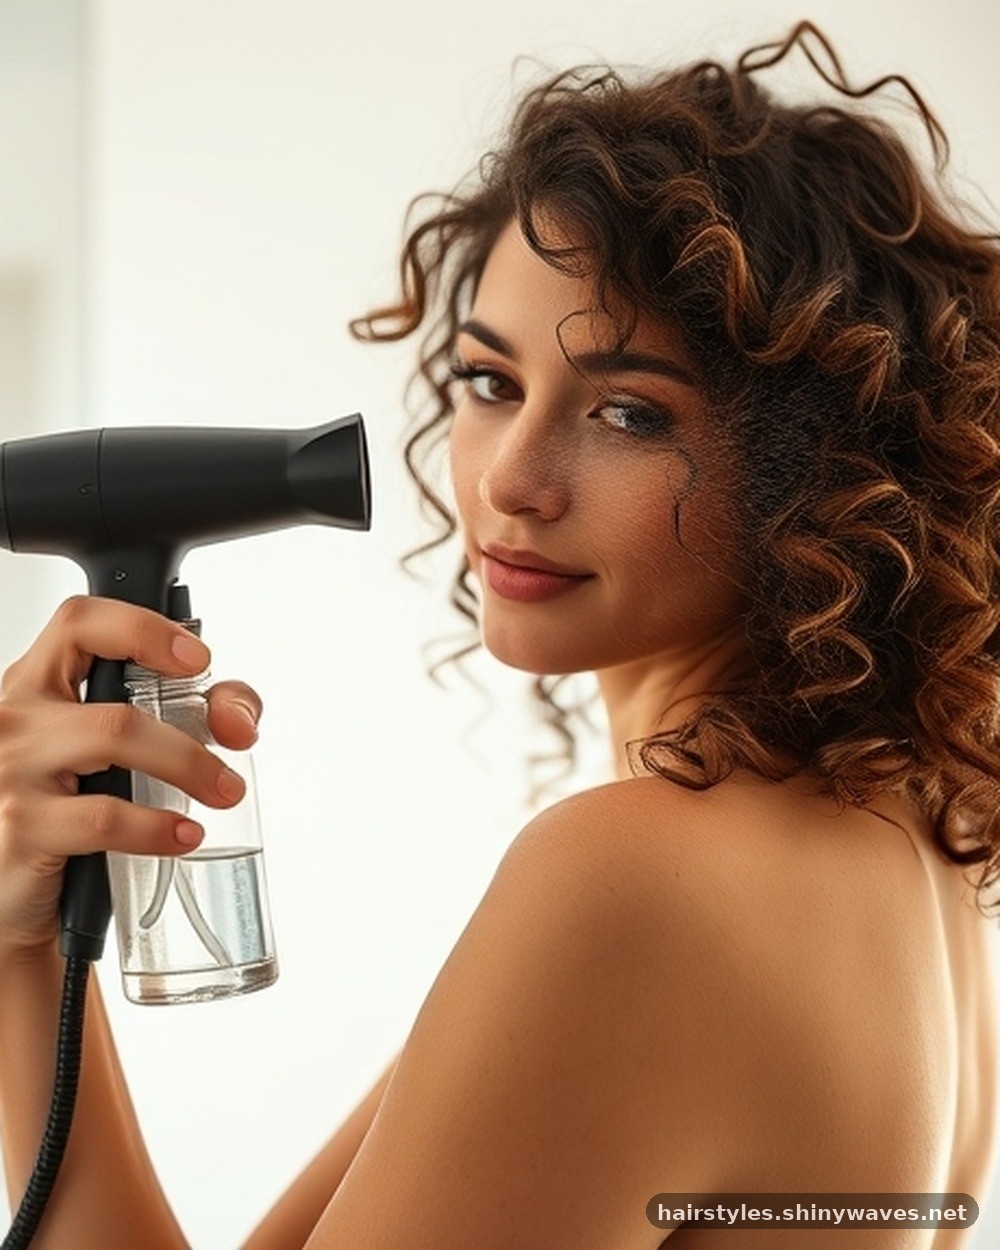
Use a heat protectant spray before blow drying to minimize damage and keep your natural hair in its best condition.
4. Avoiding heavy oils or butters on the day of your appointment prevents the hair from being too slippery for the braider.
Clean, product-free hair is much easier to grip, which leads to tighter, more secure braids that require less tension.
5. Communicating your preferences regarding the size and number of braids is vital for achieving the look you envision.
Bring a few reference photos to the salon so your braider has a clear understanding of the specific Fulani style you want.
Transitioning Out of the Protective Style
1. Taking down your braids slowly and carefully is essential to avoid ripping out your own hair during the removal process.
Use a small pair of scissors to cut the synthetic hair at the point where it ends, then carefully unravel the braids.
2. Applying a detangling product or oil to the braids before you start removing them can help loosen the hair.
Work in small sections, starting from the nape and moving toward the front, to ensure you don’t miss any knots.
3. Shedding is normal after taking down a protective style, as your hair has been unable to shed naturally for weeks.
Do not panic if you see
Do not panic if you see a significant amount of hair loss, as this is typically the accumulation of weeks of natural shedding.
4. Washing and conditioning your hair immediately after removal will help restore moisture and remove any trapped buildup.
Use a clarifying shampoo to clean the scalp and a deep conditioning mask to replenish the hair’s moisture levels.
5. Allowing your hair to rest for at least two weeks between protective styles is crucial for preventing long-term damage.
Focus on low-manipulation styles during this rest period to give your follicles a chance to recover from the tension of the braids.
Frequently Asked Questions
What is the recommended hair type for achieving this style?
This style is highly versatile and works well on most hair textures, provided the natural hair is long enough to be braided into a secure base.
How do I prevent my scalp from itching while wearing these braids?
Pre-soaking synthetic hair in vinegar and water helps, as does keeping the scalp clean with witch hazel and avoiding heavy products that trap sweat.
Can I wash my hair while it is in this style?
Yes, you can gently cleanse your scalp using a spray bottle with diluted shampoo, but be very careful not to disturb the braid tension.
Are these braids considered damaging to my natural hair?
They are only damaging if installed with excessive tension or kept in for too long; proper maintenance and gentle installation are key to healthy results.
How long should I keep this style in for maximum health?
For the best balance between style longevity and hair health, aim to remove the braids after six to eight weeks of wear.
Conclusion
Embracing the beauty of fulani curly hair offers a sophisticated way to protect your natural strands while enjoying a versatile, culturally rich aesthetic. By prioritizing scalp health, selecting high-quality materials, and maintaining a consistent care routine, you can ensure your hair remains vibrant and strong throughout the life of the style. Remember that the secret to a successful look lies in the balance between structured precision and gentle handling of your natural hair.
As you experiment with different parts, accessories, and curl lengths, keep your focus on the underlying health of your scalp and edges. We invite you to share your experiences with these styles or reach out if you have further questions about maintaining your braids and curly extensions.