Choosing honey brown highlights provides a sophisticated way to add dimension and warmth to your natural hair color. This versatile technique works by weaving golden, light-reflecting strands into a darker base, creating a multi-dimensional effect that mimics the sun-drenched glow of late summer.
Whether you have deep brunette locks or a lighter chestnut shade, these tones offer a soft, flattering transition that brightens your complexion without requiring the heavy maintenance of full-scale bleaching. Understanding how these specific shades interact with your base color will ensure you achieve a professional, natural-looking result that feels both fresh and timeless.
1. Classic Honey-Brown Balayage
1. Hand-Painted Face-Framing Ribbons
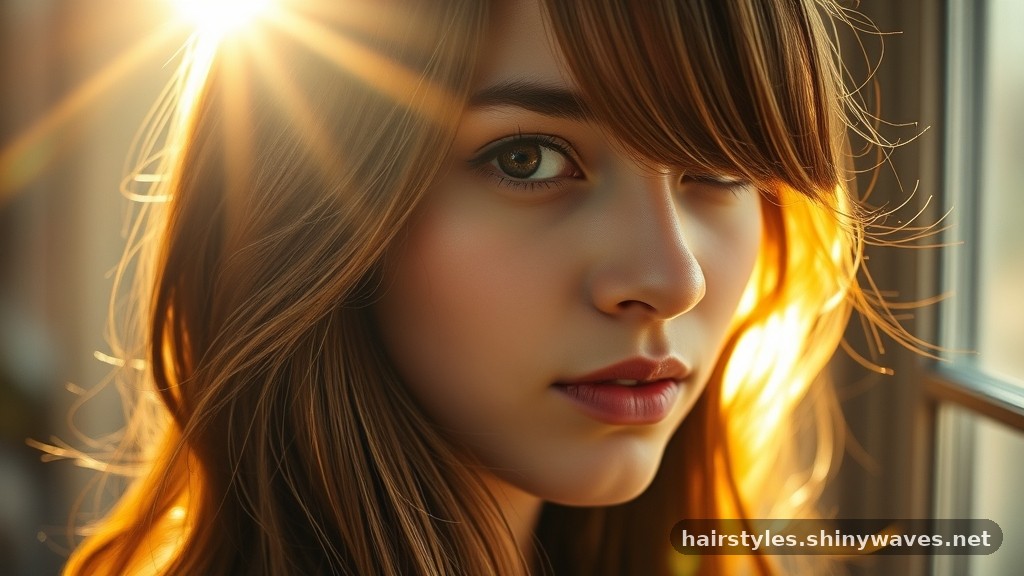
These highlights are painted onto the hair in thin, vertical sections, specifically focusing on the pieces surrounding your face. This placement instantly brightens your features and creates a soft, sun-kissed transition. Ask your colorist to use a freehand painting technique to ensure the light strands look like natural sun exposure rather than rigid, blocky stripes.
2. Soft Mid-Length Melt
This technique involves blending honey tones from the middle of the hair shaft down to the ends. It creates a seamless gradient that looks effortless and requires minimal root upkeep. Consult with your stylist about keeping your natural base at the roots to ensure the grow-out phase remains subtle and does not require frequent salon visits for touch-ups.
3. Scattered Golden Babylights
Babylights are extremely fine, delicate strands of color woven throughout the head to mimic the way hair lightens naturally as a child. They provide a subtle, shimmering effect. Request a very fine weave during your next appointment to avoid harsh lines and maintain an organic, lived-in aesthetic that is perfect for thin or fine hair textures.
4. Warm Honey-Brown Ribboning
Ribboning involves painting wider, more defined sections of honey-brown color through darker brown hair. This style adds significant depth and movement, especially when the hair is styled in loose waves. Ensure your stylist uses a warm-toned glaze after the lightening process to seal the cuticle and lock in that signature golden shine for a longer-lasting, vibrant finish.
5. Dimensional Low-Light Integration
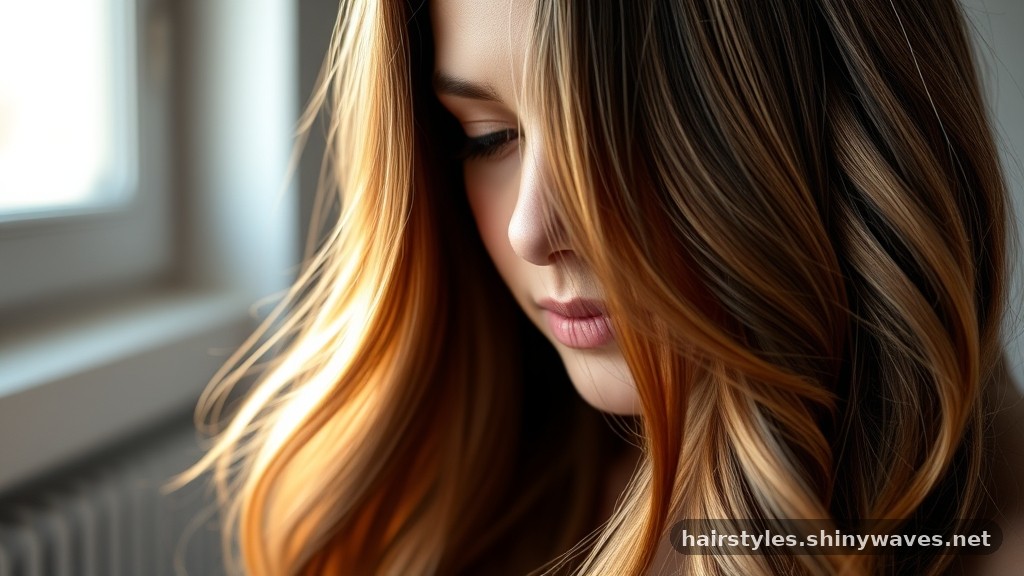
This approach combines honey highlights with slightly darker brown lowlights to create a deep, rich tapestry of color. It is ideal for those who want a fuller-looking mane. Ask for a mix of shades that are only two to three levels apart to maintain a cohesive look that provides body and contrast without appearing overly artificial.
2. Honey Tones for Dark Brunettes
1. High-Contrast Caramel Honey Strands
For those with nearly black or dark brown hair, placing bright honey-caramel highlights creates a dramatic, eye-catching contrast. This style works best with thick, voluminous hair textures. Use a professional-grade color-safe shampoo to prevent the honey tones from turning brassy, as dark hair often reveals underlying red or orange pigments when lifted during the process.
2. Subtle Espresso-Honey Blend
If you prefer a more understated look, ask for thin, sparse honey-brown highlights woven into an espresso-colored base. It provides just enough light to break up the solid color. Focus the highlights primarily on the ends of your hair to provide a soft, healthy glow that mimics the natural lightening that occurs over time from sun exposure.
3. Warm Honey-Brown Ombre
The ombre technique transitions from a deep, dark root color to a solid honey-brown tone at the ends. It is a bold, modern choice for those who love a distinct shift. Keep the transition point low, starting below the chin, to ensure the style complements your face shape while maintaining a sophisticated, high-fashion appearance that is easy to maintain.
4. Golden-Honey Piecey Highlights
These highlights are focused on specific sections, creating a piecey, textured look. This style is particularly effective for those who wear their hair in messy buns or textured braids. Apply a texturizing sea salt spray after styling to enhance the separation of the highlights, making the honey tones pop against the darker, natural background of your hair.
5. Honey-Brown Halo Highlights
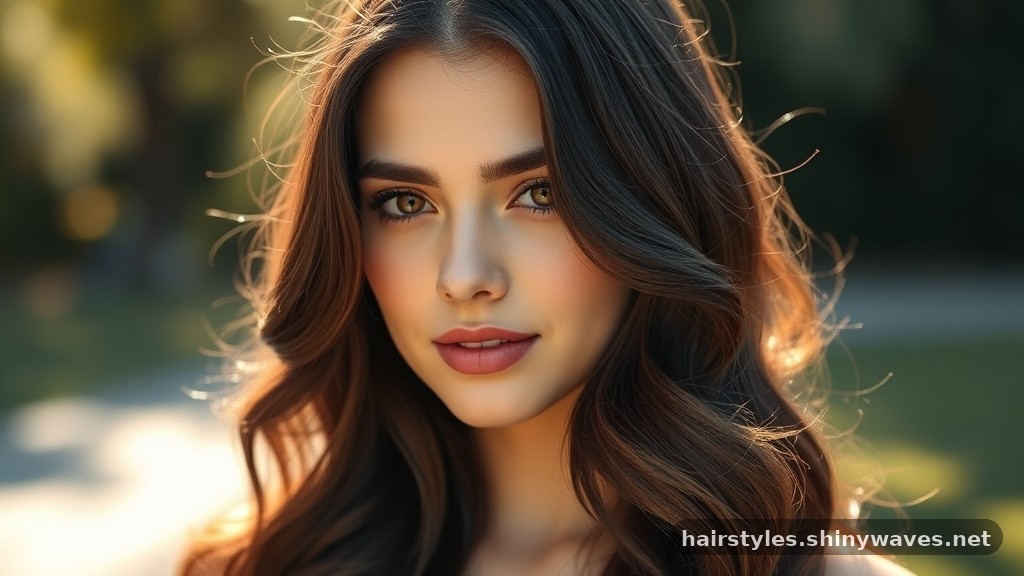
The halo placement focuses the lighter honey tones on the top layer of the hair, allowing the darker base to peek through underneath. It creates a radiant, angelic effect. Part your hair in different directions to change the visibility of the highlights, giving you the flexibility to show off more or less of the honey-brown color as desired.
3. Enhancing Curly Textures
1. Honey-Brown Spiral Accents
Curly hair naturally catches light differently than straight hair. Placing honey-brown highlights on the mid-lengths of individual curls creates a beautiful, ringlet-defining effect that emphasizes texture and volume. Ensure your stylist uses a specialized curly-hair painting technique, often called “pintura,” to place the color exactly where the light naturally hits the curve of your curls.
2. Warm Golden Ringlet Tips
Focusing the honey color strictly on the tips of your curls creates a dipped-in-honey appearance. This is a low-maintenance way to introduce color without affecting your roots. Use a deep conditioning mask once a week to maintain the health of your ends, as the lightening process can sometimes make curly hair feel slightly more porous or dry.
3. Multi-Tonal Curly Highlights
By alternating between honey, caramel, and light brown highlights, you create a complex, multi-tonal look. This adds immense depth to tight coils or loose, wavy hair patterns. Ask for a gloss treatment to be applied over the entire head to blend the different shades together, ensuring that the transition between the various honey tones is smooth.
4. Sun-Drenched Curly Crown
This placement focuses the highlights on the top section of the head, mimicking the way hair lightens naturally in the sun. It adds brightness to the face while keeping depth. Avoid over-processing the crown area, as this part of the hair is often the most exposed to environmental damage and needs extra care to remain shiny and manageable.
5. Honey-Brown Face-Framing Curls
Specifically targeting the curls that frame your face with honey-brown highlights draws attention to your eyes and cheekbones. It is a flattering, brightening choice for any curl pattern. Style these specific front curls with a light curl cream to ensure they stay defined and bouncy, preventing the highlighted ends from looking frizzy or unkempt throughout the day.
4. Styles for Straight Hair
1. Sleek Honey-Brown Pin-Straight Ribbons
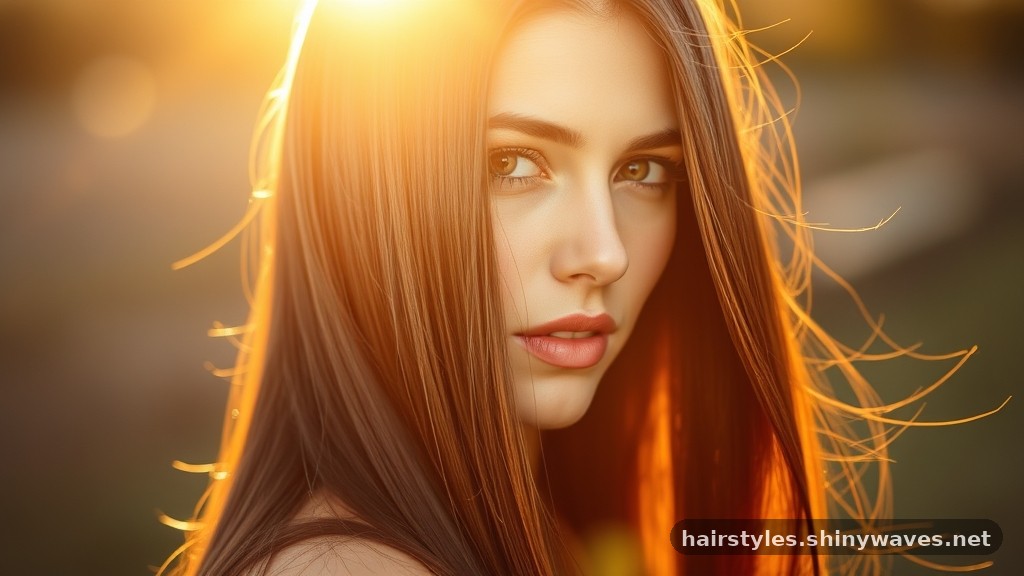
On straight hair, highlights need to be placed with precision because there is nowhere for them to hide. Thin, vertical ribbons of honey-brown create a refined, polished look. Use a flat iron with a ceramic plate to achieve a glass-hair finish, which will make the honey-brown highlights appear even more vibrant and reflective under indoor lighting.
2. Soft Honey-Brown Feathering
Feathering involves using a fine-tooth comb to paint the highlights, creating a soft, feathered effect that blends perfectly into the base. It is ideal for a natural, everyday look. Request a “babylight” approach near the roots to ensure that as your hair grows, the line of demarcation remains soft, blurred, and entirely natural-looking for several months.
3. Honey-Brown Underlights
This style hides the highlights on the bottom layers of the hair. When the hair is worn down, it looks like a solid color, but it reveals honey tones when moved. Try pinning back the top layer of your hair with a decorative clip to showcase the contrast between your natural base and the honey-brown highlights hidden underneath.
4. Precision Honey-Brown Strands
Placing highlights in specific, deliberate streaks creates a modern, graphic look on straight hair. This is perfect for those who want a more structured and intentional color design. Consult with your stylist about the exact placement of these streaks to ensure they align with your natural part, as this will maximize the visual impact of the color.
5. Honey-Brown Ends with Dark Roots
Keeping the roots entirely natural while fading into honey-brown ends creates a clean, intentional look. It is the ultimate low-maintenance style for those with long, straight hair. Visit a salon for a professional trim to keep the ends healthy and thick, as damaged, thin ends can make the honey-brown color look dull instead of bright.
5. Maintenance and Color Care
1. Sulfate-Free Color Shampoo
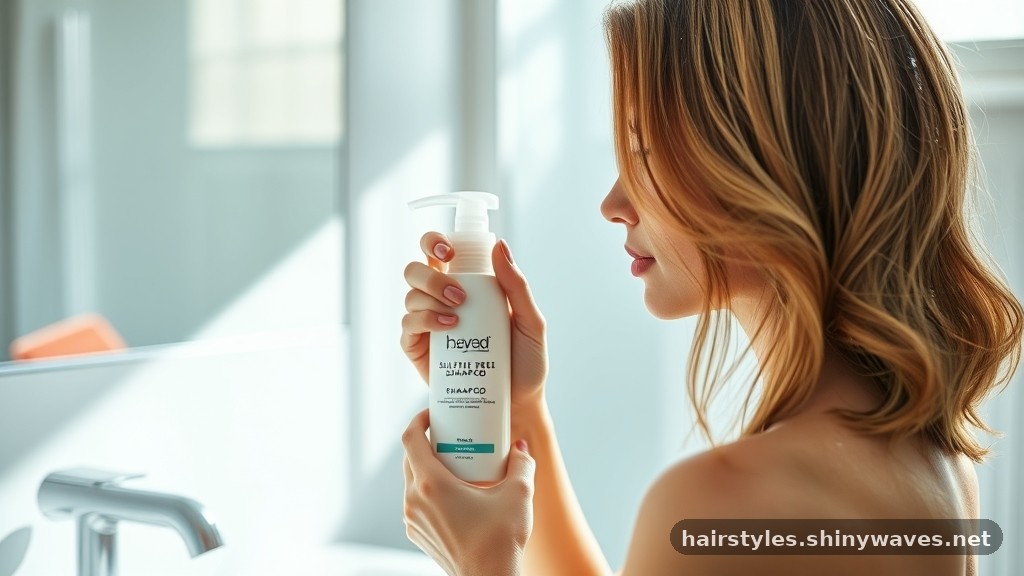
Sulfates are harsh detergents that strip away color molecules, leading to premature fading. Switching to a sulfate-free shampoo is the most important step for maintaining honey-brown highlights. Look for formulas specifically labeled for “color-treated hair” or “brunette maintenance” to ensure the ingredients are gentle enough to preserve the integrity of your new honey-brown tones.
2. Weekly Deep Conditioning Masks
Lightening hair, even for highlights, can affect the moisture balance of the strands. Weekly masks restore hydration and help the honey tones look glossy and healthy rather than matte. Apply the mask from mid-lengths to the ends, avoiding the roots to prevent weighing down your hair, and leave it on for at least ten minutes for maximum absorption.
3. UV Protection Sprays
Sun exposure is a leading cause of brassiness in honey-brown highlights. Using a UV-protective spray acts like sunscreen for your hair, preventing the sun from altering the shade. Mist your hair before heading outside, especially during the peak summer months, to ensure your honey tones stay true to the original color your stylist achieved in the salon.
4. Glaze or Toner Refresh
Every six to eight weeks, your honey-brown highlights may lose their vibrancy. A professional glaze or toner refresh can deposit new pigment without the need for additional bleaching. Schedule these quick, affordable appointments between your full highlighting sessions to keep the honey-brown color looking fresh, rich, and dimensional throughout the entire year without over-processing.
5. Heat Protectant Application
High heat from blow dryers and irons can cause the hair cuticle to lift, allowing color to leak out. Always use a heat protectant spray before using any styling tool. Opt for a lightweight spray that does not contain silicones, as these can build up over time and dull the shine of your honey-brown highlights, making them look flat.
6. Choosing the Right Shade
1. Warm Golden-Honey for Cool Skin
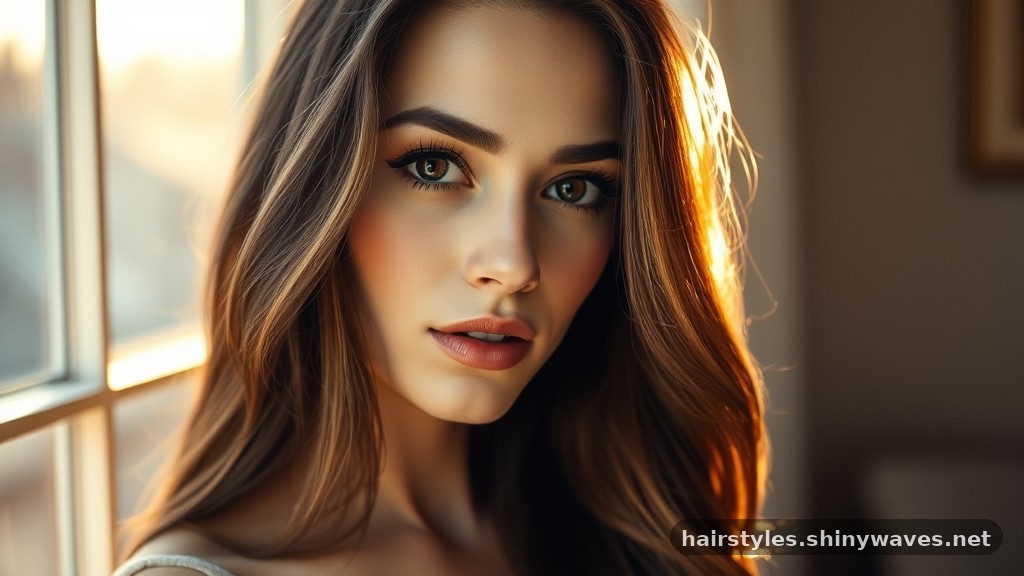
If you have cool undertones, a warmer, golden-honey shade can help balance your complexion, preventing you from looking washed out. It adds a much-needed glow to the face. Take a photo of your skin in natural light to show your stylist, as this helps them determine exactly how much gold versus brown is needed for your specific tone.
2. Deep Caramel-Honey for Neutral Skin
Neutral skin tones are versatile and can handle a deeper, more caramel-leaning honey shade. This creates a rich, sophisticated look that is neither too bright nor too dark. Ask for a “mocha-honey” blend to keep the look grounded, which ensures the highlights look professional and elegant while still providing that desired honey-brown contrast you are seeking.
3. Bright Honey-Blonde for Olive Skin
Olive skin looks incredible with higher-contrast honey highlights that lean slightly toward blonde. This brightness pulls out the natural green and gold flecks often found in olive complexions. Discuss the placement of these bright highlights to ensure they are concentrated around your face, which will provide an instant brightening effect to your entire appearance.
4. Muted Honey-Brown for Fair Skin
For very fair skin, a softer, more muted honey-brown prevents the highlights from looking too harsh or orange. It creates a subtle, romantic effect that feels very natural. Request a “bronde” approach, which is a perfect blend of brown and blonde, to ensure the honey highlights transition smoothly into your lighter base without creating any jarring lines.
5. Rich Copper-Honey for Warm Skin
Warm skin tones pair beautifully with honey highlights that have a subtle copper or auburn undertone. This combination brings out the natural warmth in your skin and eyes. Keep the copper tones subtle by asking for a honey-brown glaze, which ensures the color remains in the brown family while adding that beautiful, fiery, sun-kissed reflection.
7. Trends in Honey-Brown Styling
1. The “Expensive Brunette” Look
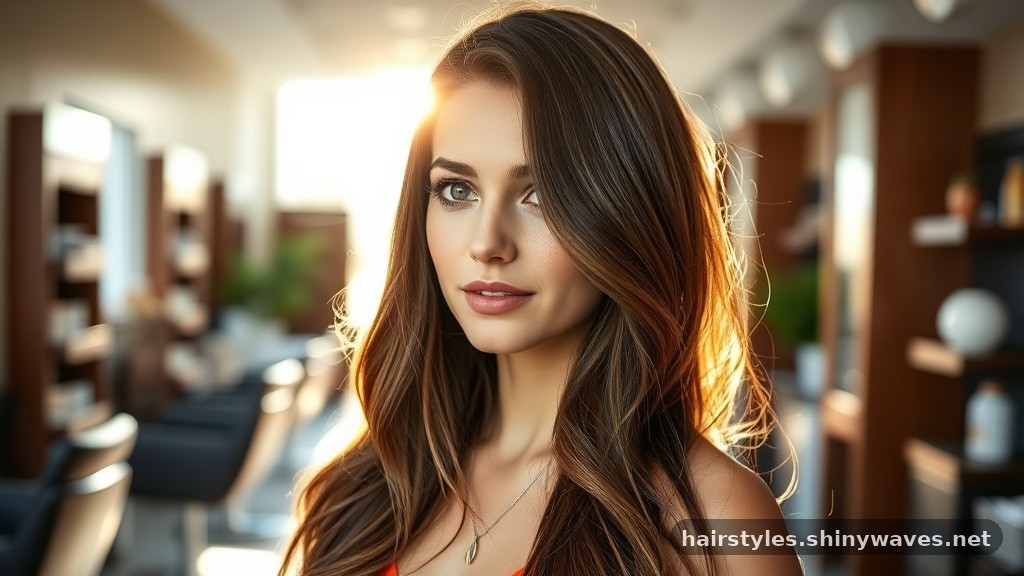
This trend focuses on subtle, high-quality highlights that look like you were born with them. It relies on very fine, strategically placed honey-brown tones for a luxurious finish. Focus on the health of your hair, as this style requires a glossy, smooth finish to really shine. Regular trims and shine treatments are essential for this specific look.
2. Lived-In Honey Highlights
Lived-in color is all about low maintenance. The highlights start a few inches down from the root, allowing for a soft, natural grow-out that looks intentional for months. Ask your stylist for a “root smudge” after the highlights are applied, which blends the base color into the highlights for a seamless, perfectly melted, and very trendy appearance.
3. Honey-Brown Face-Framing “Money Piece”
The “money piece” trend involves two very bright, honey-brown strands right at the front of the face. It is a bold, modern take on the traditional highlight style. Keep the rest of your hair slightly darker to ensure the front pieces pop, or blend the honey-brown highlights throughout the rest of your hair for a cohesive design.
4. Textured Honey-Brown Shag
The modern shag haircut is all about layers and texture. Adding honey-brown highlights to a shag cut emphasizes the movement and choppiness of the layers perfectly. Use a styling pomade to define the tips of your layers, which will showcase the honey-brown highlights and create a cool, effortless, and very stylish rocker-chic aesthetic.
5. Honey-Brown Highlights on Wigs
If you wear wigs, you can achieve the perfect honey-brown highlight look without ever damaging your natural hair. Many lace-front wigs come pre-highlighted in various honey-brown patterns. Ensure the wig is professionally fitted to your head and the lace is trimmed correctly, as this will make the highlights look like they are growing directly from your scalp.
8. Seasonal Transitions
1. Summer Sun-Kissed Honey
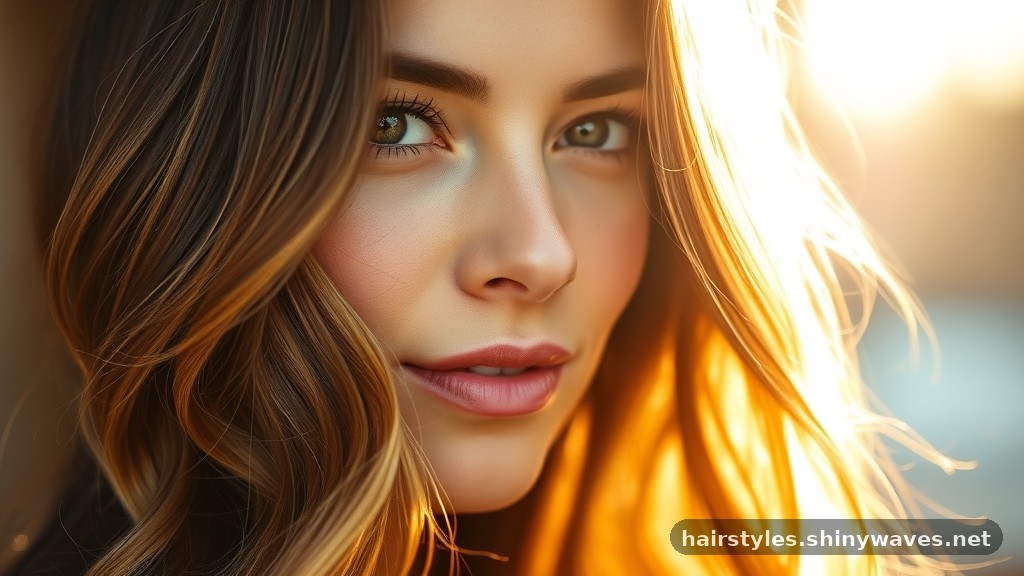
In the summer, you can opt for brighter, more frequent honey-brown highlights to mimic the effects of the sun. It is a fun, vibrant way to celebrate the warmer months. Combine these highlights with a lighter, slightly more golden-toned glaze to keep the look feeling fresh and bright during the peak of summer when you spend more time outdoors.
2. Autumnal Honey-Brown Depth
When the weather cools down, shift your honey-brown highlights toward a richer, more mahogany or copper-honey tone. This reflects the changing colors of the season perfectly. Ask for a darker base color during your autumn touch-up to provide more contrast for your honey highlights, which will make them stand out even more against the deeper tones.
3. Winter Glossy Honey
In the winter, the air is dry and hair can look dull. Focus on high-shine treatments to keep your honey-brown highlights looking luminous against the colder, paler winter skin. Incorporate a clear gloss treatment into your salon visits, which locks in the color and adds an intense, mirror-like shine that keeps your hair looking vibrant throughout the winter.
4. Springtime Honey Refresh
Spring is the perfect time to lighten up your hair with a few extra honey-brown face-framing pieces. It signals a fresh start and shakes off the heaviness of winter. Consider a “refresh” session where your stylist only adds a few highlights around the hairline and the part, which is a cost-effective way to update your look for spring.
5. Year-Round Honey Balance
If you want one consistent look throughout the year, aim for a balanced honey-brown that isn’t too bright or too dark. This neutral honey shade works for every season. Maintain this look by visiting your stylist every twelve weeks for a “gloss and tone” refresh, which keeps the honey-brown highlights from fading or turning brassy over the year.
9. Frequently Asked Questions
What skin tone suits honey brown hair?
Most people find that honey brown hair is incredibly versatile. It generally looks best on those with warm or neutral undertones, but it can be adapted for cool skin by adjusting the golden ratio.
What color hair is honey brown?
Honey brown is a warm, mid-toned brunette that features golden or amber undertones. It sits perfectly between a light brown and a dark blonde, offering a soft, sun-drenched appearance.
What color hair makes an older woman look younger?
Warmer, honey-toned highlights are often recommended for mature hair. These shades add brightness to the face and soften the appearance of fine lines, providing a more youthful, glowing complexion.
Which is lighter, honey or caramel highlights?
Honey highlights are typically lighter and more golden, leaning toward blonde. Caramel highlights are slightly deeper and richer, leaning more into a warm, toasted sugar brown tone.
Can I do honey brown highlights at home?
While possible with kits, it is difficult to achieve the multidimensional look of professional balayage at home. A professional can map the placement to suit your specific face and hair texture.
10. Professional Consultation Tips
1. Bringing Visual References
Always bring at least three clear photos of the specific honey-brown highlights you want. This removes ambiguity and ensures you and your stylist have the same vision for your hair. Use a platform like Pinterest to create a mood board of styles you love, then narrow it down to the ones that best match your current hair length.
2. Discussing Maintenance Levels
Be honest about how often you want to visit the salon. If you only want to go twice a year, ask for a root-melt or balayage that grows out naturally. Mention your daily styling routine to your stylist, as this will help them determine if your hair needs a higher-maintenance highlight placement or a more durable, low-fuss color design.
3. Assessing Hair Health
Before adding highlights, your stylist needs to check your hair’s elasticity. If your hair is currently damaged, they may recommend a series of strengthening treatments before attempting any lightening. Invest in a high-quality protein treatment a few weeks before your appointment to ensure your hair is strong enough to withstand the lifting process required for honey-brown highlights.
4. Understanding the Cost Breakdown
Ask for a clear quote before the service begins. Highlight placement, base color, and glazing or toning can all be separate charges that add up during a single appointment. Clarify whether the quoted price includes the gloss or toner, as these are essential for achieving that perfect honey-brown shade and should be part of the final color design.
5. Post-Service Care Plan
Before leaving the salon, ask for a specific product recommendation for your hair type. Your stylist knows the porosity and texture of your hair and can suggest the right shampoo. Purchase the recommended products at the salon to ensure you are using the correct formulas, as drugstore alternatives may contain ingredients that could strip your new honey-brown color.
Achieving the perfect look with honey brown highlights is about balancing your natural base with warm, golden tones that flatter your features. By choosing the right placement—whether it is soft, hand-painted balayage or deliberate face-framing ribbons—you can create a look that feels both fresh and uniquely yours. Remember that the longevity of your color depends on the quality of your home care routine, specifically using sulfate-free products and protecting your hair from excess heat and UV exposure.
Whether you choose to lean into brighter honey tones for the summer or deeper caramel shades for the colder months, these highlights offer a timeless, sophisticated aesthetic. We hope this guide helps you feel confident in your next salon visit and excited to embrace your new, luminous hair color.